Hardwood Flooring on Concrete Slab Foundations: The LA Homeowner’s Guide
If you live in Los Angeles, there’s roughly a 70% chance your home sits on a concrete slab foundation. From the post-war ranch homes of Sherman Oaks to the 1960s tract houses of Woodland Hills to the modern builds in Encino, concrete slab construction has dominated LA residential building since the 1950s. And if you want hardwood floors, that slab changes everything about how your flooring gets installed.
After 20+ years installing hardwood on concrete slabs across the San Fernando Valley and greater Los Angeles, we’ve learned exactly what works, what fails, and what corners you absolutely cannot cut. This guide covers everything you need to know.
Why 70% of LA Homes Have Concrete Slabs
Los Angeles’s building boom happened in the 1950s-1970s, when concrete slab-on-grade construction was faster, cheaper, and perfectly suited to Southern California’s mild climate. Unlike cold-climate cities where basements are standard, LA builders poured a 4-inch concrete slab directly on compacted soil, ran plumbing through or under it, and built the house on top.
This means most homes in Sherman Oaks, Studio City, Encino, Tarzana, North Hollywood, Burbank, and Glendale have no crawl space, no basement, and no plywood subfloor. Your flooring goes directly over concrete — and concrete and wood have a complicated relationship.
The Concrete Moisture Problem
Concrete is porous. Even decades after it was poured, a concrete slab wicks moisture from the soil beneath it through capillary action. This moisture migrates upward as vapor, and if hardwood flooring is installed directly over it without proper precautions, that moisture will:
- Cause cupping (edges of boards curl upward)
- Create crowning (center of boards push up after overcorrection)
- Lead to adhesive failure in glue-down installations
- Promote mold growth between the slab and the flooring
- Cause finish peeling and discoloration
We’ve seen every single one of these failures in LA homes where flooring was installed without proper moisture testing. It’s the number one reason hardwood floors fail on slab foundations.
Moisture Testing: The Step You Cannot Skip
Before any hardwood touches your concrete slab, we perform comprehensive moisture testing. This isn’t optional — it’s the single most important step in the entire installation process.
Two Testing Methods We Use
| Test Method | What It Measures | Threshold | Time Required |
|---|---|---|---|
| Calcium chloride (ASTM F1869) | Moisture vapor emission rate (MVER) | Below 3 lbs/1,000 sq ft/24 hrs | 60-72 hours |
| Relative humidity probe (ASTM F2170) | Internal slab RH at 40% depth | Below 75% RH | 72 hours minimum |
We typically use both methods for a complete picture. The RH probe test is considered the industry gold standard because it measures moisture inside the slab, not just at the surface.
What We Commonly Find in LA Slabs
In our experience across thousands of LA homes:
- 60% of slabs test within acceptable limits — moisture levels are fine, and we can proceed with standard installation after applying a basic moisture retarder
- 25% need moisture mitigation — levels are elevated but manageable with a two-part epoxy moisture barrier ($2–$4/sq ft)
- 10% have significant moisture issues — often due to broken underground pipes, poor drainage, or slabs poured without a vapor barrier underneath (common in 1950s construction)
- 5% need serious intervention — requiring plumbing repair, drainage correction, or in extreme cases, a new vapor barrier system before any flooring can be considered
Homes in low-lying areas of North Hollywood, parts of Burbank near the wash, and certain Encino neighborhoods tend to have higher slab moisture due to higher water tables. Hillside homes in Sherman Oaks north of the boulevard and parts of Studio City often have drier slabs.
Engineered vs. Solid Hardwood on Concrete Slabs
This is where LA flooring contractors separate into two camps. Some will tell you solid hardwood is fine over concrete. We strongly disagree — and here’s why.
Engineered Hardwood: Our Recommendation for 90% of Slab Installations
Engineered hardwood is constructed with a real hardwood veneer (we use 4mm+ minimum) bonded to multiple layers of plywood or HDF in a cross-grain pattern. This cross-layer construction gives it dimensional stability that solid hardwood simply cannot match over concrete.
Why engineered wins on concrete:
- Dimensional stability — the cross-grain layers resist expansion and contraction from moisture far better than solid wood
- Can be glued directly to concrete — the strongest, most stable installation method for slab foundations
- Thinner profile — typically 1/2″ to 3/4″, which matters when you need to match door clearances and transitions
- Can be refinished — with a 4mm+ veneer, you get 2-3 sandings over the floor’s lifetime, just like solid hardwood
- Better moisture resistance — handles the minor moisture fluctuations that concrete slabs produce year-round
Solid Hardwood on Concrete: Why We Advise Against It
Solid hardwood (3/4″ thick, single piece of wood) requires a plywood subfloor to be installed over concrete, which means:
- You must first glue or mechanically fasten 3/4″ plywood to the slab
- Then nail the solid hardwood to the plywood
- Total height increase: 1.5″+ (creates transition issues at doorways, tile, and other rooms)
- The plywood layer can trap moisture between itself and the slab
- More labor, more material, more cost — with no real benefit over quality engineered hardwood
Solid hardwood over concrete costs $8–$16/sq ft installed plus the plywood subfloor prep, moisture barrier, and leveling. Engineered hardwood over concrete runs $7–$12/sq ft for standard or $10–$16/sq ft for premium — with fewer complications and better long-term performance.
Installation Methods: Glue-Down vs. Floating
Glue-Down (Our Preferred Method)
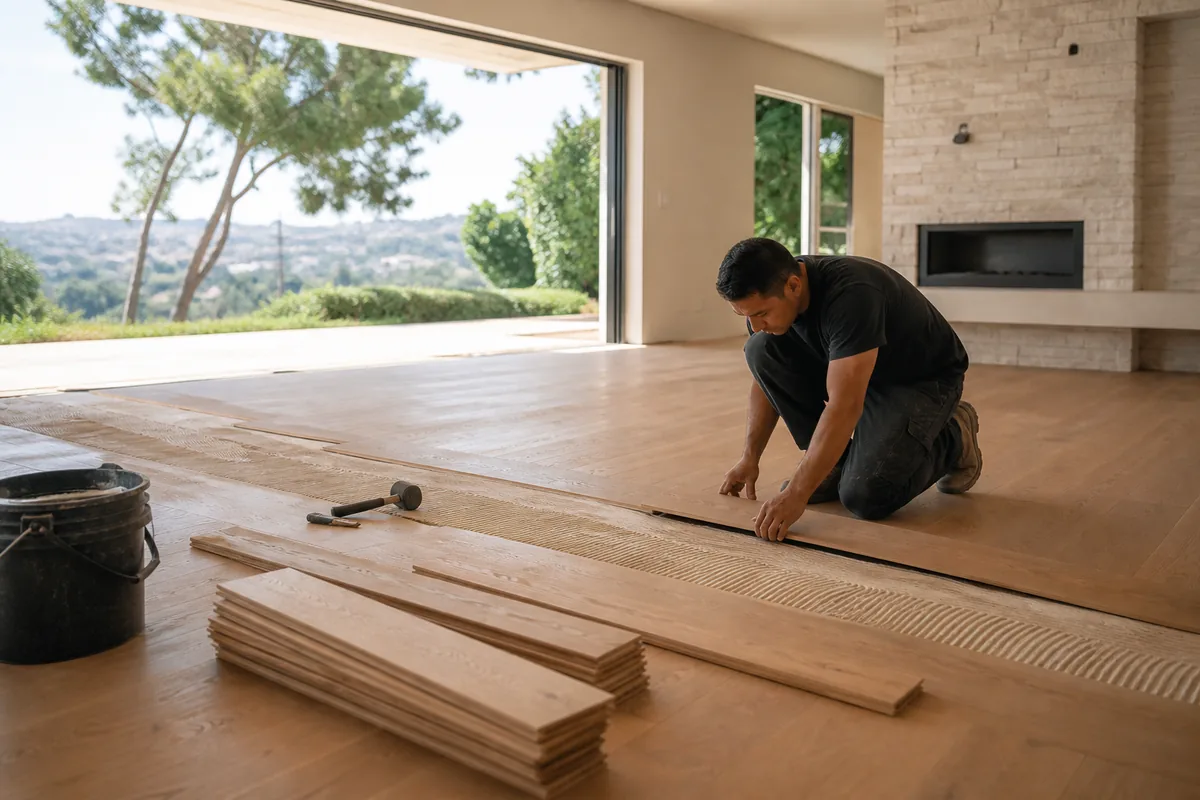
For slab installations, we strongly prefer glue-down using a high-quality urethane adhesive. Here’s why:
- Eliminates hollow sound — the floor feels and sounds solid underfoot, like it’s part of the house
- Superior moisture barrier — quality urethane adhesives (like Bona R850 or Sika SikaWeld) create an additional moisture barrier between the slab and the wood
- Maximum stability — no movement, no shifting, no edge separation over time
- Better for large open spaces — critical for the open-concept layouts popular in LA remodels
- Compatible with radiant heat — glue-down provides direct thermal transfer
Floating Installation
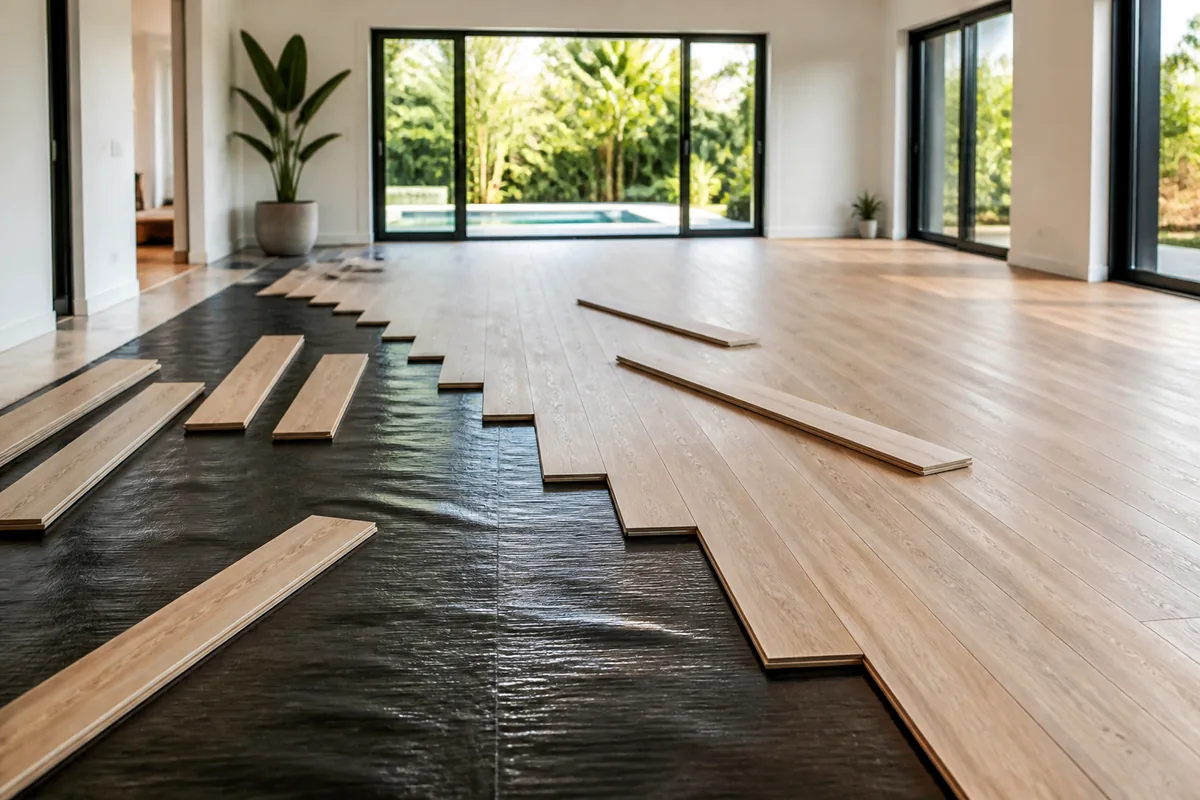
Floating floors (planks click together and “float” over an underlayment without being attached to the slab) are faster and cheaper to install, but come with trade-offs:
- Hollow sound underfoot — you can hear and feel that the floor isn’t attached
- Movement at edges and transitions over time
- Limited plank lengths (long planks in floating installations can develop gaps)
- Not recommended for rooms over 30 feet in any direction without transition strips
We use floating installation for LVP in bathrooms and laundry rooms, or in rental properties where budget is the primary concern. For any owner-occupied home where you want your hardwood to look and feel premium, glue-down is the way to go.
Moisture Mitigation Systems and Costs
When moisture testing reveals elevated levels, we have several mitigation options:
| System | Cost | Handles Up To | Best For |
|---|---|---|---|
| Urethane adhesive with built-in moisture barrier | Included in install | Up to 80% RH | Standard slabs with borderline readings |
| Two-part epoxy moisture barrier (e.g., Bona R410) | $2–$4/sq ft | Up to 95% RH | Elevated moisture, older slabs without vapor barriers |
| Sheet membrane system | $1.50–$3/sq ft | Up to 90% RH | Floating installations needing moisture protection |
| Topical densifier + epoxy | $3–$5/sq ft | Up to 99% RH | Severe moisture issues, last resort before abandoning hardwood |
Real Cost Example: 1,200 Sq Ft Slab Home in Sherman Oaks
Here’s a real project breakdown from a 1960s ranch home in Sherman Oaks with moderate moisture readings:
| Item | Cost |
|---|---|
| Old carpet removal (1,200 sq ft) | $600–$1,800 |
| Floor leveling (partial areas) | $800–$2,400 |
| Moisture mitigation (epoxy barrier) | $2,400–$4,800 |
| Engineered hardwood, glue-down installation | $8,400–$14,400 |
| Total Project | $12,200–$23,400 |
The Slab Prep Process: What to Expect
Here’s the typical sequence for a concrete slab hardwood installation in an LA home:
- Day 1: Remove existing flooring (carpet, tile, or vinyl). Remove tack strips, scrape adhesive residue, address any visible slab damage.
- Day 1-2: Perform moisture testing. We place calcium chloride kits and RH probes, which need 60-72 hours to get accurate readings.
- Day 3-4: Slab prep — grinding high spots, filling low spots, applying floor leveling compound where needed. If moisture mitigation is required, apply epoxy barrier (needs 24 hours to cure).
- Day 4-5: Begin hardwood installation. Glue-down over prepared slab.
- Day 5-7: Complete installation, install transitions, baseboards, and final cleanup.
Total timeline for a typical 1,000-1,500 sq ft slab project: 5-7 working days, including moisture testing.
Trust Your Slab Installation to Experts
Installing hardwood over concrete slabs is fundamentally different from installing over plywood subfloors. The moisture dynamics, adhesive selection, leveling requirements, and material choices all change. This is not a DIY project, and it’s not a project for a general contractor who occasionally does flooring.
At Skyline Flooring, slab installations are our bread and butter — it’s what we do every single day across Los Angeles. With 20+ years of experience and 5.0 stars on Yelp from 109+ happy customers, we know LA slabs inside and out. Contact us for a free consultation or call (818) 941-0497 to discuss your concrete slab flooring project.